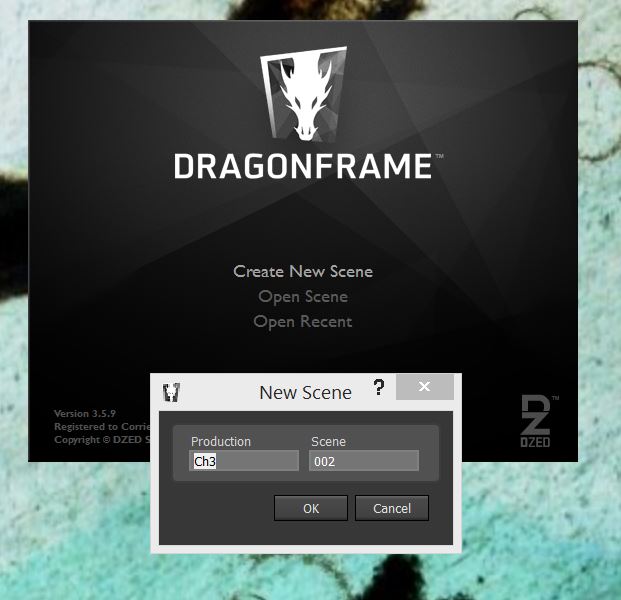
- Open Dragonframe. Choose “Create New Scene”. Name the scene and choose the file location.
- Double check that you have the correct video source by going to “Capture>Video Source>Your Camera.
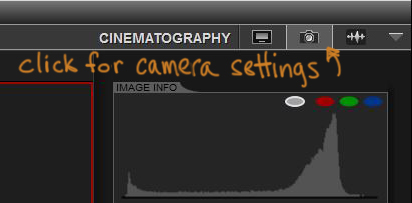
- Once you select your source, you should see a live image from your camera on the screen. Now let’s adjust the camera settings and focus. Click the camera icon in the upper right corner to open the cinematography window.
4. In the right side panel you will see dials for f-stop, shutter speed and ISO. These are the three factors that control your exposure (how light or dark the image is). Exposing each image is a balancing act between aperture, shutter speed and ISO. These three settings are all related to how much light passes through the lens and is transferred onto the camera sensor to create an image.

Aperture:
We discussed the fine details of aperture when we picked out our lens. Here is where your aesthetic tastes come into play, so we will set this first. Determine what you want in focus, set the aperture to achieve the proper depth of field and focus the camera. If you are shooting on just one level and don’t need to worry about depth of field, set the aperture somewhere in the middle of the focal range, because every lense has an ideal aperture setting that gives the sharpest image.
Shutter Speed:
Shutter speed is how fast the camera opens and closes to allow the light to hit the sensor and create an image. We can adjust the shutter speed to make it slower and allow more light onto the sensor, or faster, to allow less light. Since our camera is mounted securely and controlled remotely, we can have a slow shutter speed and have more flexibility with our aperture settings.
ISO:
ISO used to refer to the film speed, i.e. how much light was required to expose a piece of film. Now there is a digital equivalent. If you need a faster shutter speed and don’t want to change your aperture settings, you can increase the ISO. The tradeoff is, a high ISO can create noise in an image, which may not fit your aesthetic. Usually this is something you would change only if you can’t make the shutter speed and aperture setting work together. Keep your ISO around 100-200 if possible.
5. You can use the histogram at the top of the sidebar to help you see what is happening to the pixels in your image as you adjust the exposure. This is a graphical representation of every pixel in the image on a scale of 100% black to 100% white. Once a pixel is 100% black or 100% white, we lose any ability to adjust the image in post because there is no color information in the pixel. The clipping indicator button (next to the zoom slider) tells us which pixels are black and which are white. Ideally, with color images, we want a nicely balanced histogram with very few pixels on the far ends of the spectrum. If our image is unbalanced towards the white end, it means we are overexposed; if unbalanced towards the black end, we are underexposed.

6. In some cases, such as backlit sand, having a lot of black or white is exactly what we want because the image is meant to have a lot of contrast. The key is not to go so far that you lose the subtle gradations of shading as they approach the farthest ends of the spectrum.
Take some test shots, changing the shutter speed, aperture and ISO until you find an exposure that accurately represents your artistic goals. Know that even digital cameras have limitations and an exposure that works for a scene with a lot of white, may not work for the next scene with a lot of black.
7. Below the exposure settings are more image settings. Let’s look at white balance. Even though light may seem white, it always has a little bit of color, called color temperature. The camera can see this and it may distort the colors in your artwork. Luckily, we can compensate for that in the camera. If you are using a certain type of light, like florescent, you can choose one of the presets. If you aren’t sure or have a mixture of lights, try the auto balance setting, or try to adjust it manually until you get something that looks right to you.
8. Now that the exposure looks good we need to refine the focus. Make sure you are still in Live View by checking the L icon below the image is highlighted.
![]()
You can zoom in using the slider on the far right side of the icons. As you can see, it is a little bit blurry. Be sure your camera is set to manual focus. Then use the arrows to adjust the focus. Some DSLRs aren’t capable of using this function so you will have to adjust the focus manually. The live view is not as high a resolution as the image will be so you will need to take some test shots. 
9. Compare the test shots and continue to refine the focus until you are satisfied (you will need to switch back to Live View after looking at the test shots).

10. Okay! We like the image coming in from the camera. Let’s switch back to Animation mode (monitor icon in upper right corner). Move the mouse to the upper left corner of the screen and a panel will appear.
![]()
Here are several tools to help you animate.
- Video Assist – move and scale the capture window
- Draw – create motion and shape guides for animation
- Onion Skin – determine the opacity, number of frames and type of blending for onion skin
- Chroma Key – if you are doing green screen work
- Line-up Layer – load images or video as reference
- Magnification – to inspect detailed areas
- Levels – adjust exposure
Click on the Line-up Layer icon and let’s load a reference image.
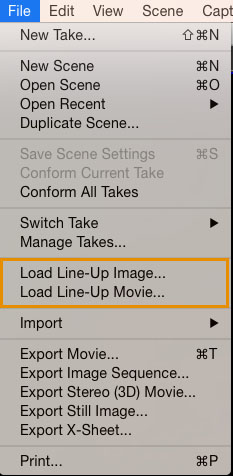
11. From the drop down panel, choose Load Image.Find the image you want to use on your computer. You can also load video files (.mov, .mp4, .m4v, .avi and .wmv). Once selected, you will see the image appear over the live view. Use the adjustments in the drop-down panel to rotate, scale and adjust the opacity of the image as necessary.
12. Finally we are ready to animate! Go to Windows > Show Keypad and the animation keypad will appear.
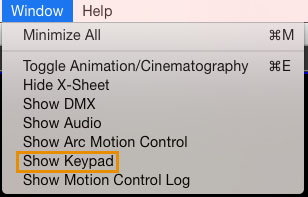

This is mapped to the number pad on most computers so you can also use them as hot keys. Click the timeline icon in the lower right to reveal the frames as you record them. Below the timeline you can set a variety of things like frame rate, aspect ratio, looping and playback settings.
13. Once you have recorded some frames, you may need to make changes, like deleting or moving a frame. To do this, select the frame in the timeline and right-click and a menu will appear for deleting, hiding, copying, pasting etc.

14. Onion skinning is a really handy tool. It allows you to see the frames you have already recorded as a reference for the new frame. You can adjust the setting in the onion skinning palette in the upper left.

The default is to show just one frame before but you can increase the number of frames if you want to see an entire sequence. You can also quickly adjust the opacity with the slider under the timeline, or by using the hotkeys on the keypad.
15. At last, we’ve finished our animation and it’s time to export. Go to File > Export Image Sequence to bring up the export dialogue. If you prefer to work with video files, you can also choose File > Export Movie.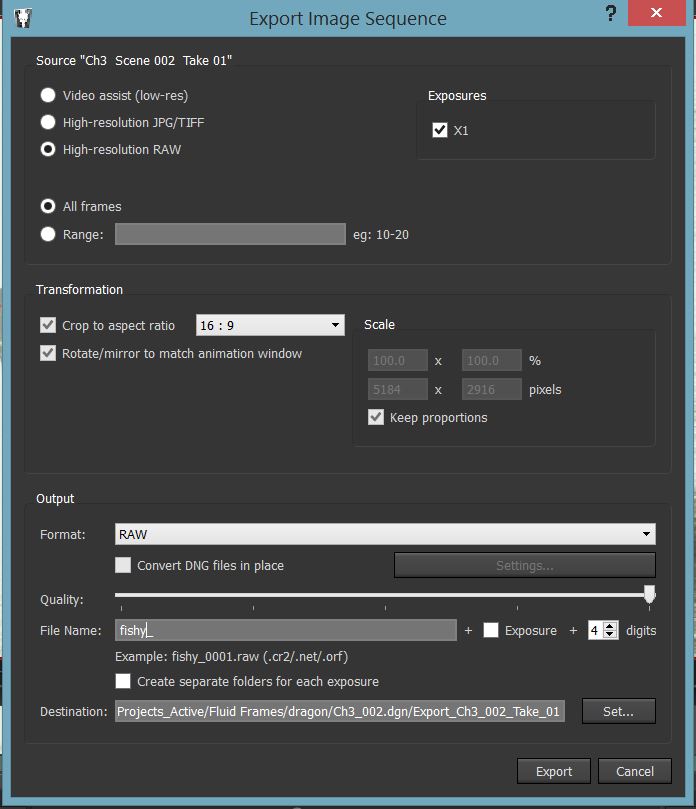
16. From here you can choose what settings you want. If you plan to do a lot of adjustments in post, it is best to export as RAW. If you are satisfied with the exposure and color of the footage, exporting as a TIFF or JPEG will save you a bit of hard drive space.
Dragonframe has many levels of sophisticated controls and settings. This introduction will give you a starting point to explore the program further according to your artistic goals. The best way to discover the possibilities is to work through problems as they come up. Now that we have the basics, let’s get animated!